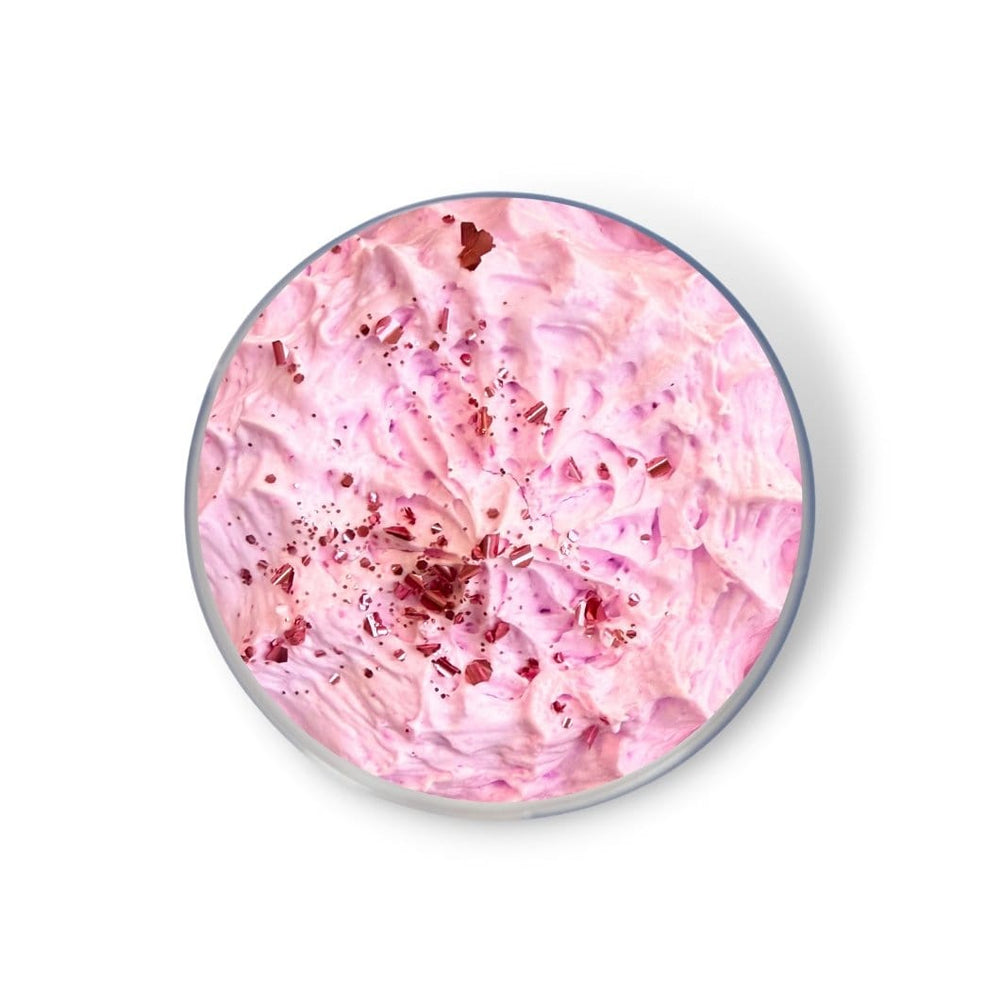
The Ultimate Whipped Soap Recipe
Whipped soaps are our new favourite obsession! They not only make the perfect gift; you can add calming fragrances to your evening routine to help you settle into sleep.
So, why not try making your own? If you're a fan of bath butter, or you're just looking for a new DIY project, you're in the right place. We'll take you through the process of creating your own whipped soap, from understanding the basics to adding your favourite fragrances and colours.
We'll also delve into the world of exfoliating whip soap, exploring the benefits of ingredients like brown sugar and essential oils.
Whether you're a seasoned soap maker or a complete beginner, this guide is designed to help you create high-quality, personalised soaps that hydrate and rejuvenate the skin. So, grab your hand mixer, and let's whip up some magic!
What is Whipped Soap?
Whipped soap is a unique form of soap that boasts a creamy and luxurious texture. Through a special process, soap base is air-whipped, creating a fluffy and lightweight soap that holds its shape, akin to whipped cream.
The main ingredient of whipped soap is a soap base. This could be any high-quality soap base such as shea butter soap base, goat's milk soap base, or glycerin soap base, amongst others. The process begins with the soap base being melted and whipped until it forms a rare, semi-solid, creamy structure.
Making whipped soap base from scratch is a fun, creative process. Just like baking, you've got to 'whip the base' – add air into the soap – until it achieves a fluffy texture. The key is to do this gradually, patiently blending until the desired consistency is reached.
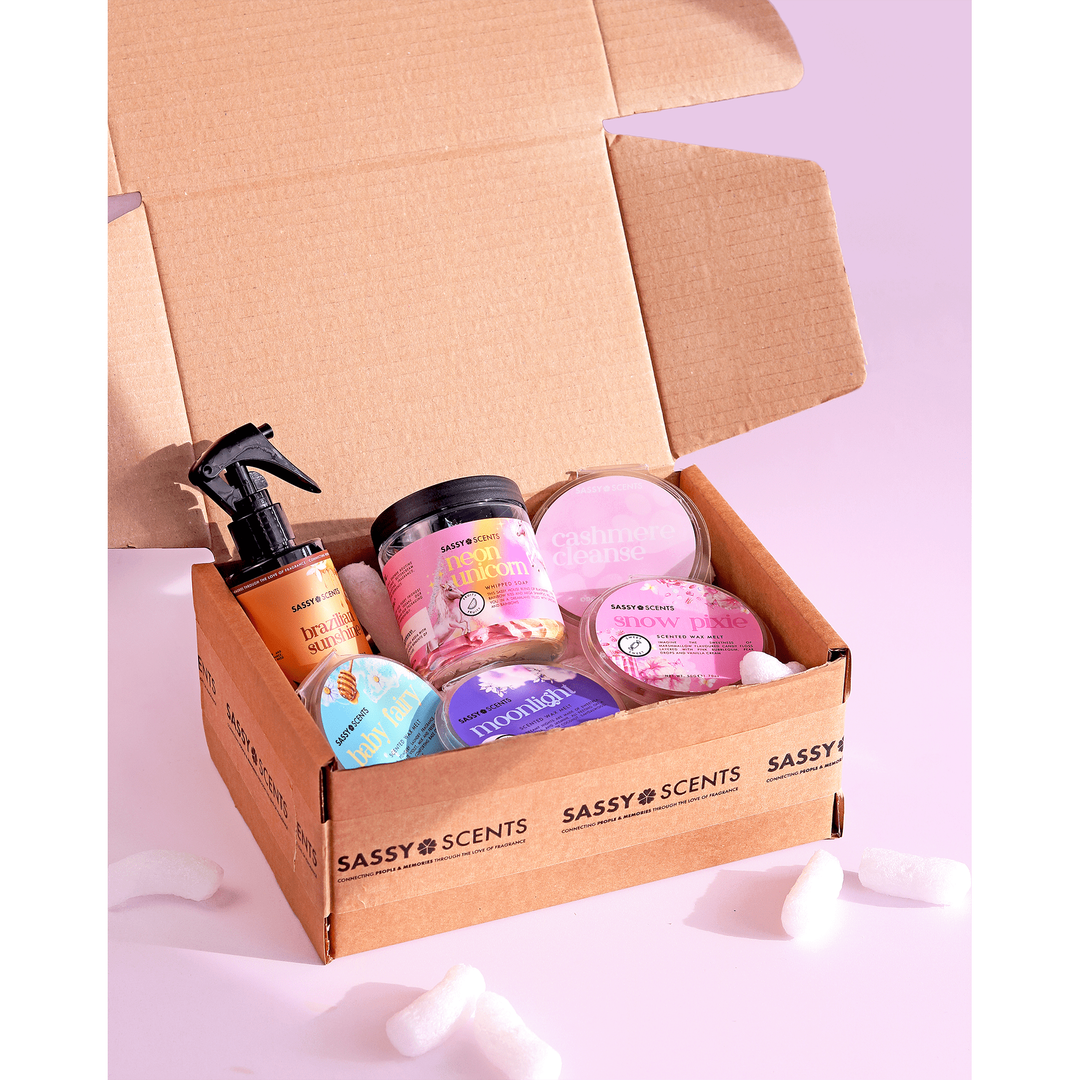
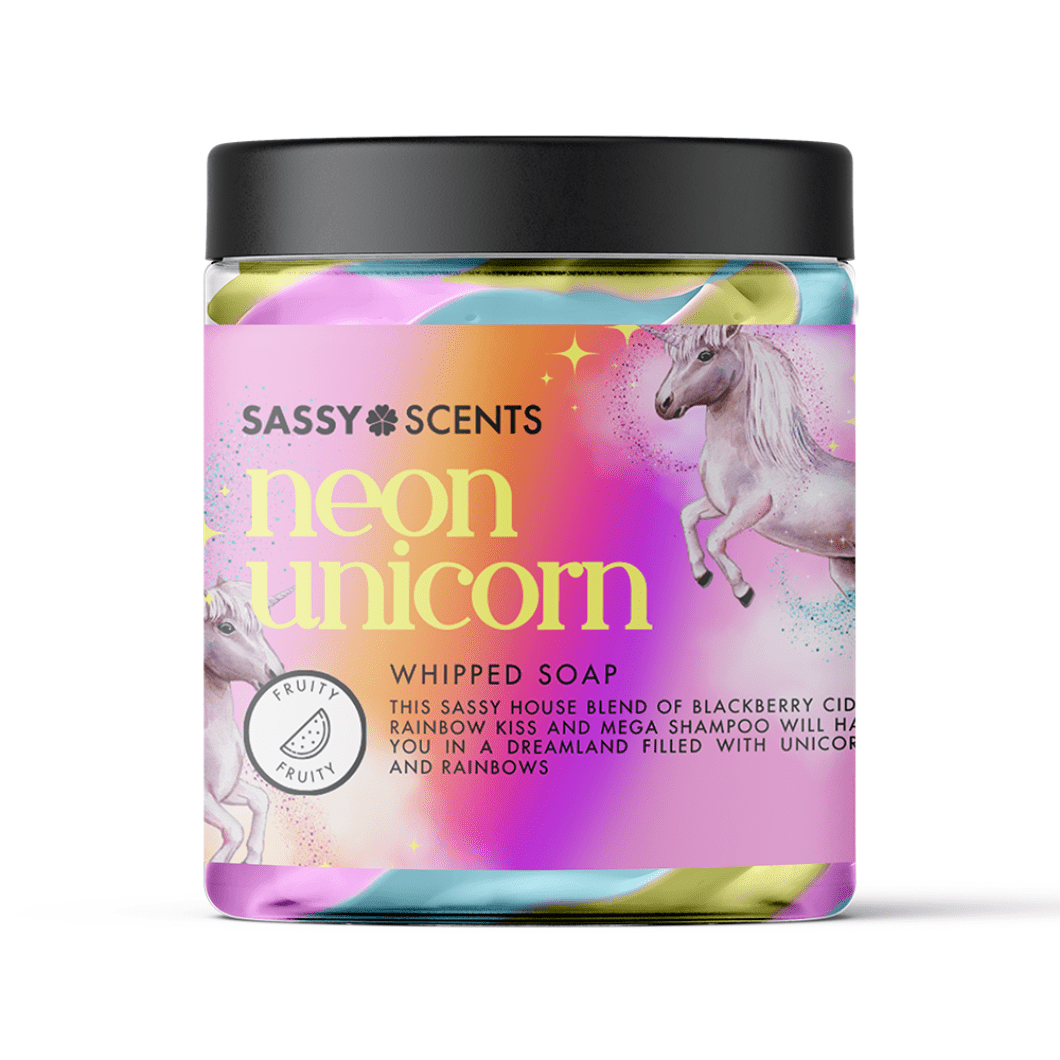
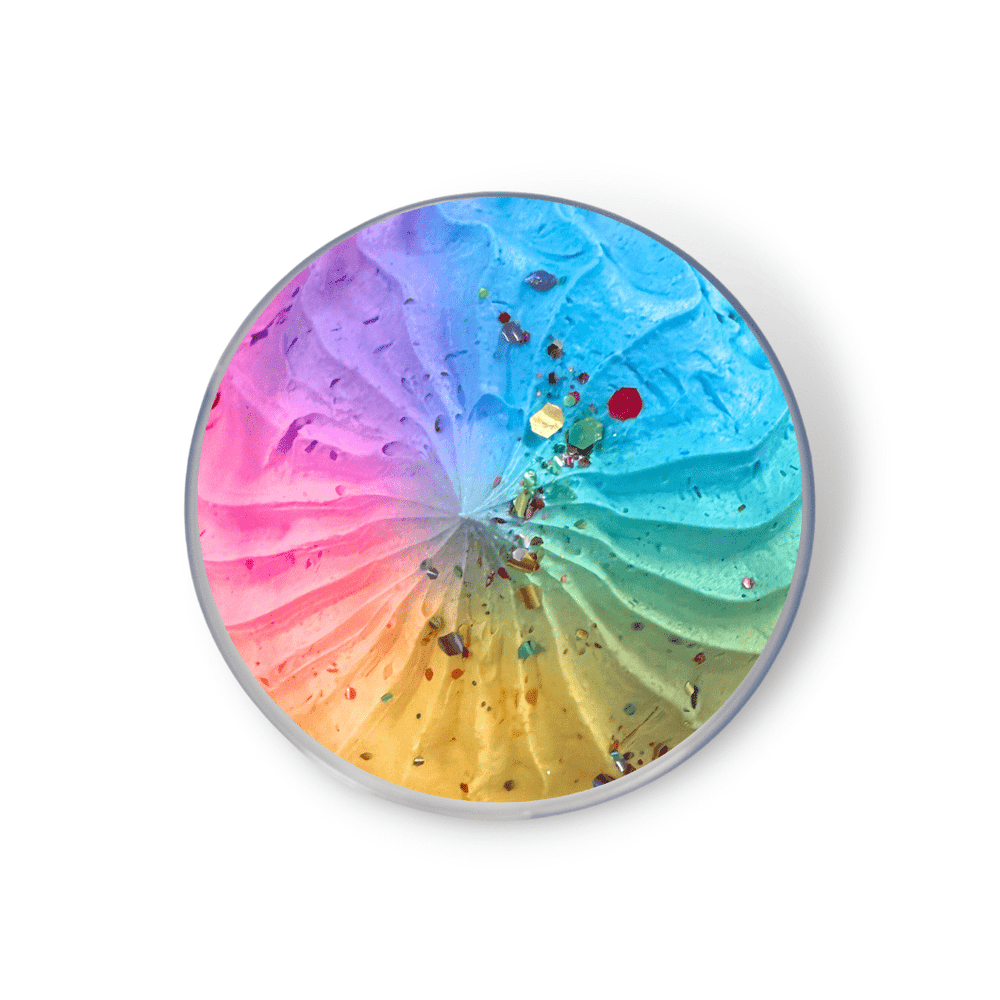
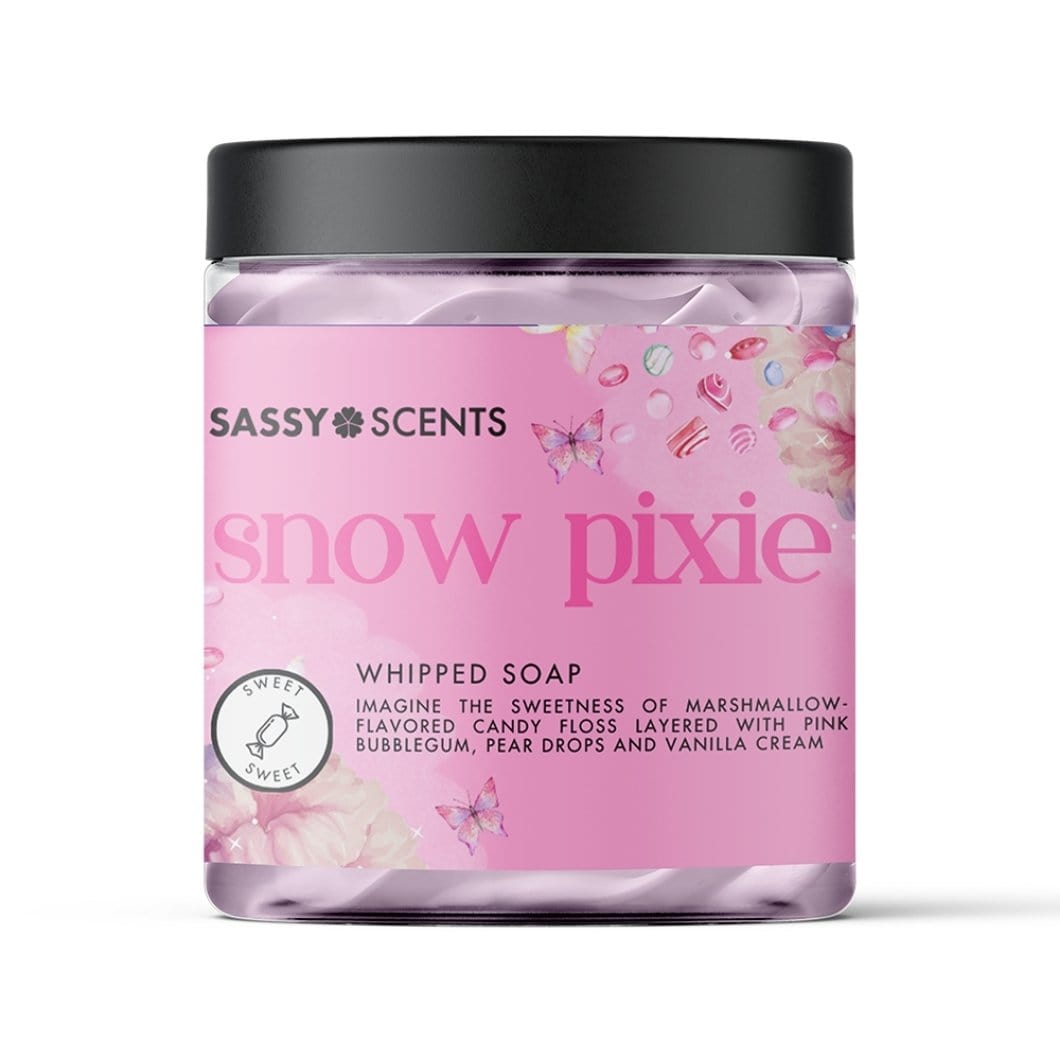
You can also add groovy colours, like our Neon Unicorn Whipped Soap or biodegradable glitter, like our ever-popular Snow Pixie Whipped Soap.
Why Choose Whipped Soap?
Great question - why whipped soap? Firstly, whipped soap has a luxuriously creamy texture. It's like washing with a cloud, providing an indulgent escape with each use. It's gentle yet effective, cleansing not only your skin but also uplifting your senses. For example, you can choose the fruity Seychelles Whipped Soap when you need a burst of energy, or tonka-bean and lavender notes like Sassy Slumber when you want to relax.
Secondly, whipped soap is incredibly versatile! Ideal for shaving, a bubble bath, or even a luxurious hand soap, it is adaptable to your skincare routine.
Thirdly, it's light and airy nature means a little goes a long way. You whip the base into a frenzy, creating a luscious, bubbly concoction that lasts longer than your typical bar of soap. Talk about high quality!
It's also worth noting that making whipped soap from scratch gives you control over what ingredients go into your product; a bonus if you prefer natural, vegan, or cruelty-free options.
Ingredients and Materials for Making Whipped Soap
Creating the perfect whipped soap is an art that requires the right blend of ingredients and materials. Here are the critical ingredients needed to produce whipped soap:
- Kernel oil: A natural lubricant with excellent moisturising properties.
- Shea butter whipped soap: This offers a luxurious creamy texture to whipped soaps.
- Mango butter: Enhances the soap's froth and consistency, producing a fluffy lather.
- Essential oil: Depending on your preference, diversity in aromas can be achieved using different essential oils.
- Vitamin E: An antioxidant that nourishes the skin.
- Rice bran oil: Rich in Vitamin B, this oil promotes skin elasticity and hydration.
- Fragrance oil: This heightens the sensory experience of using the soap.
- Mica powder: Using a small amount can add a shimmer or colour to your soap.
These are the vital ingredients that influence not just the aroma, but also the texture, consistency and skin benefits of your whipped soap.
Of course, you will also need some equipment:
- Soap Moulds: Appearance matters as much as quality. Choose designs that convey your soap idea and resonate with your ethos.
- Mixing Bowl: Select a sturdy, heat-resistant bowl for whipping your soap. Quality matters here.
- Electric Whisk: Essential for achieving that fluffy texture. Opt for a reliable one.
- Spreader / Spatula: To evenly spread the mixture within your moulds. Again, the quality of this tool is essential.
- Digital Scale: Ensures each ingredient is accurately measured, maintaining consistency in every soap bar.
- Safety Equipment: Gloves, goggles, and aprons are critical. Safety is paramount in all crafting exercises.
- Thermometer: Accurately monitor temperature during the soap making process. Dedication to detail will pay off with better end results.
Step-by-Step Guide to Making Whipped Soap Base from Scratch
Whether you're a seasoned soap maker or a beginner, these next steps will provide you with the knowledge and techniques needed to create a high-quality whipped soap base. Note: this isn’t the recipe for any of our whipped soaps, but it’s easy enough for beginners to master and a good place to start.
Preparing Your Ingredients and Materials
Always use high-quality materials to ensure the best outcome. The stars of your soap concoction will be an assortment of liquid ingredients, used oils and nourishing elements designed to soften and soothe the skin.
Your liquid ingredient could be something as accessible as water or as luxurious as goat milk. Used oils might range from olive oil to intricately fragrant essential oils. The nourishing ingredients refer to elements such as shea butter or honey that add a moisturising factor to your soap.
Naturally, you can't forget about your hand mixer! This tool will be the one whipping your soap base into its eventual fluffy consistency. It's an essential part of how to make whipped soap. Ensure your hand mixer is clean, operational, and ready for action.
Remember safety equipment. The process of making whipped soap involves working with caustic substances like lye, so precautions are necessary. Wearing gloves and protective glasses during your soap-making session can keep any potential accidents at bay.
Creating the Whipped Soap Base
To get started with creating the whipped soap base, the first step is to isolate just 340 grams from your foaming bath butter soap base container. This process permits you to ensure the appropriate amount of soap base is utilised in your recipe. Relocate this base into a mixing bowl which is dedicated to this task.
Beyond the soap base, it's crucial that you incorporate the right amalgamation of ingredients to achieve an optimal nourishing soap base. Secure 40g of shea butter and add it to your base, introducing a high quality moisturising component. To further enrich your mix, add a tablespoon of vegetable glycerin which is fantastic for locking in moisture. Lastly, incorporate one teaspoon of vitamin E oil to inject that nourishing ingredient that is beneficial for overall skin health.
Next, it's time to unite these elements into a cohesive base. Get hold of that handy hand mixer and set it at a low to medium speed. Proceed to whip the base for a duration of approximately five to seven minutes. This is not a strict time limit but a guide - be sure to observe your mixture and carry on until it achieves a fluffy consistency.
The incorporation of the foaming bath butter in this recipe ensures the base can maintain various oils and butters without diluting its creamy lather. It whips up expeditiously and creates an excellent base for an assortment of creative endeavours within soap making.
Embarking on the journey of making whipped soap base from scratch is undoubtedly an engrossing experience. Diligently following the proportions and process of this high quality soap recipe, while keeping mindful of your unique taste and stylistic preferences, will undoubtedly produce impressive results. Remember to always whip the base with love and intention, as it is a critical process in making the perfect whipped soap!
Adding Fragrance and Colour to Your Whipped Soap
Adding fragrance and colour to your whipped soap is a delightful process that allows you to personalise your creation. It's like being an artist, where your canvas is the soap base, and your paints are the fragrances and colours.
This process is not just about making the soap look and smell good. It's about creating an experience for the user. The right fragrance can evoke memories, while the right colour can set the mood.

Choosing the Right Fragrance for Your Whipped Soap
Your options are vast, ranging from fall in love fragrance to natural lavender essential oil. Each fragrance oil has its unique attributes, constantly offering your senses a new adventure. Whipped soap holds fragrances well, making your choice even more important.
Imagine the thought of waking up to the aroma of fall in love fragrance in the morning - a truly refreshing experience, isn't it? Alternatively, winding down with a natural lavender scent oozing from your soap can create a calming and relaxing environment.
How to Add Colour to Your Whipped Soap
Every good whipped soap recipe carries a certain charm, an appeal that lies not just in its texture or fragrance but also in its colour. Adding colour to your soap can enhance the aesthetic appeal and serve as a quick identifier of the scent-family it belongs to. However, it's important to know how to add colour while keeping its heart and soul - the whip - intact.
The first step in adding colour to your whipped soap is choosing the right colourant, mica being a great choice. It's important to make sure that the mica you use, like any other colourant, is skin-safe. Depending on the intensity of colour you want, 1/8 tsp to a 1/4 tsp of mica would suffice.
Colour mixing is an art! You don't add it all in one go, but in parts. Let's say if we have 340g of shea butter whipped soap. One third of it can be coloured in deep purple mica, while the remaining two-thirds can be tinged in pink. It's a mix-mashing of delightful colours!
Always mix the colourants well with a spatula or a hand mixer into the soap, ensuring the colours are evenly distributed. Even if your deep purple mica turns a pale grey, remember, it's all part of creating unique and beautiful whip soap hues.
How to Make Sugar Scrub Whipped Soap
Creating a sugar scrub whipped soap, or as some may call it, exfoliating whip soap, is a gratifying task. Firstly, select your ingredients. Opt for a blend of mild soap, skin-friendly oils, and, of course, your gentle exfoliant.
In this case, we'll use brown sugar. Why? Its fine, small grains make it a perfect choice for a smooth and soft exfoliation experience. Plus, it gives our sugar whip soap a touch of caramel hue, adding a dash of aesthetic appeal.
Begin by melting the soap in a double boiler. It's critical at this stage to ensure a slow, steady melt to maintain the soap's integrity. Following this, gradually add oils. This not only imbues the soap with nourishing properties, but also helps in creating the desired whip texture.
Adding the brown sugar is the next step. Merge it in until you achieve a consistent, grainy texture. Balance is the trick here; you need to prevent the sugar from dissolving, yet ensure that it doesn't stay too coarse.
Finally, it's whisking time! Whip the concoction until it fluffs up like a cloud. The goal? A smooth, creamy soap with an exfoliating touch that satisfies sight, sense, and touch.
That's it. A batch of sugar scrub whipped soap, all set to bring the spa visit to your shower. Relax, rejuvenate, and relish the exfoliating whip adventure.
Creating Mango Butter Whipped Soap
Creating a mango butter whipped soap is more straightforward than you may initially anticipate. The secret step lies in properly whipping the base ingredients. Begin by separating 340g of foaming bath butter from its container. Couple this in a mixing bowl with 40g each of shea butter and the star ingredient, mango butter.
Next, enrich the mixture with both hydrating vegetable glycerin and nourishing vitamin E oil, which are particularly beneficial for their abilities to rejuvenate the skin. Whip these elements together for a substantial time, spanning five to seven minutes, to achieve a butter whip soap consistency that's truly sublime.
Upon successfully creating this base, it's time to personalise your soap. This is where creativity meets personal care. You can opt for any fragrance of your preference, though a lighter, tropical scent generally complements that of mango butter wonderfully. Incorporate this fragrance into your whipped soap base, continuing to blend everything together for a further two to three minutes.
The overall process takes a bit of patience, but the end result — a luxuriously rich, mango butter whipped soap — is guaranteed to reward your efforts. Perfectly poised to hydrate and rejuvenate, it's a personal care routine addition you'll relish daily.
Storing and Using Your Homemade Whipped Soap
After mastering the art of making whipped soap, the next crucial steps are storing and using it correctly.
Whether you're using your whip soap as a luxurious bath treat or a skin-loving face wash, understanding how to store and use it properly can significantly enhance your personal care routine.
How to Store Your Whipped Soap
Firstly, the key to maximising the shelf life of your homemade whipped soap is proper storage. Place it in a cool, dry place, away from direct sunlight and excess moisture. High levels of humidity may adversely affect the texture and the quality of the soap. For example, a bathroom cabinet or an armoire can be ideal.
Temperature fluctuations should be avoided. If the soap is exposed to too much heat, it may start to melt, losing its fluffy whipped consistency. Store your whipped soap in an airtight container. This could be a glass mason jar or a BPA-free plastic tub.
Besides, while using the soap, make sure to avoid dipping wet hands into the container. It's better to use a clean, dry spatula or spoon to scoop out the desired amount of soap, preventing any water or bacteria from infecting the soap.
Note that natural homemade whipped soaps usually have a shelf-life of about six months, though the exact duration might vary based on the ingredients used.
How to Use Your Homemade Whipped Soap
Begin with wetting your skin in the bath or shower. Take a dollop of your whipped soap and gently massage it onto your skin, creating cream-like lather that will cleanse and moisturise your skin simultaneously. Be generous with your usage; your high-quality homemade whip soap is designed to go a long way.
Another popular whip soap idea is to use it as a shaving cream. Its fluffy texture allows for a very smooth shave. Apply it directly to the area to be shaved and follow your normal routine. After rinsing, your skin will feel soft and moisturised.
The versatility of whip soap recipes even allows it to be used as a face wash. Massage a small amount onto a wet face and rinse with warm water. Be cautious to avoid eye contact due to the soap's cleansing properties.
Using your whip soap for a relaxing bath is also an option, simply add a scoopful to your running bath water and allow the tub to fill with moisturising bubbles. Enjoy the grounding experience of sinking into this luxurious foam.
The Joy of Making Your Own Whipped Soap
The art of making your own whipped soap is a rewarding and enjoyable process. It allows you to create a personal care product that is tailored to your skin's needs, using nourishing ingredients like mango butter, essential oils, and exfoliating sugars.
Remember, the key to a successful whip soap recipe lies in the quality of your ingredients and the love you put into the process. So, get your hand mixer ready, and let's whip up some bath butter magic!
Of course, if you don’t want to go the ready-made route, find a selection of luxurious, artisanally crafted whipped soaps right here on our web shop! It’s the perfect gift for birthdays, baby showers, or any other occasion you would like to celebrate…as well as a delicious treat when you need pampering.


