The Ultimate Guide to Making Wax Melts
We’ve been in the wax melt business for a long time…but have you ever considered making your own? It takes a few years to become a pro, but it's simpler than you might think, and our guide is here to show you how. From understanding the basics of scented wax, choosing the right kind of wax, to a step-by-step guide on how to make wax melts, we've got you covered.
We'll even delve into the benefits of using silicone moulds and share some pro tips for achieving the perfect scent. Let’s take a closer look at how to make a wax melt at home.
What are Scented Wax Melts?
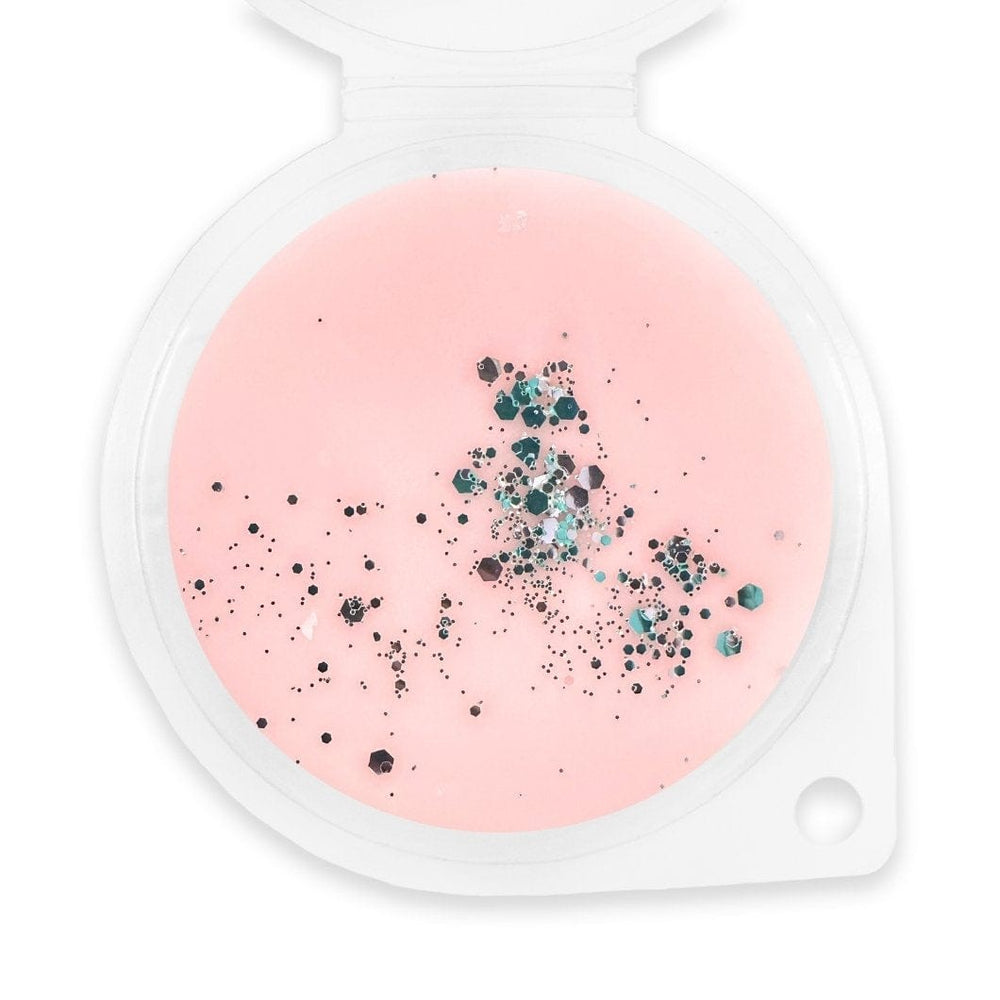
Scented wax melts, a popular home fragrance choice, are pieces of scented wax without a wick. They’re designed to be melted in a wax warmer, a small electrical appliance that heats the wax and releases its aroma.
Their alluring scent comes typically from a blend of high-quality fragrance oils and essential oils. They dissolve into a liquid when they are heated, releasing its scent, only to solidify again upon cooling. Effectively, they continue to release fragrance until all the scent has evaporated; at which point, they can simply be replaced with a new melt.
Scented wax melts are an excellent alternative to candles. They eliminate the risk of open flames, making them a safe fragrance option. Their scent throw is often powerful and far more long-lasting than commercial products or candles. Depending on their quality, each melt can last anywhere from several hours to several days.
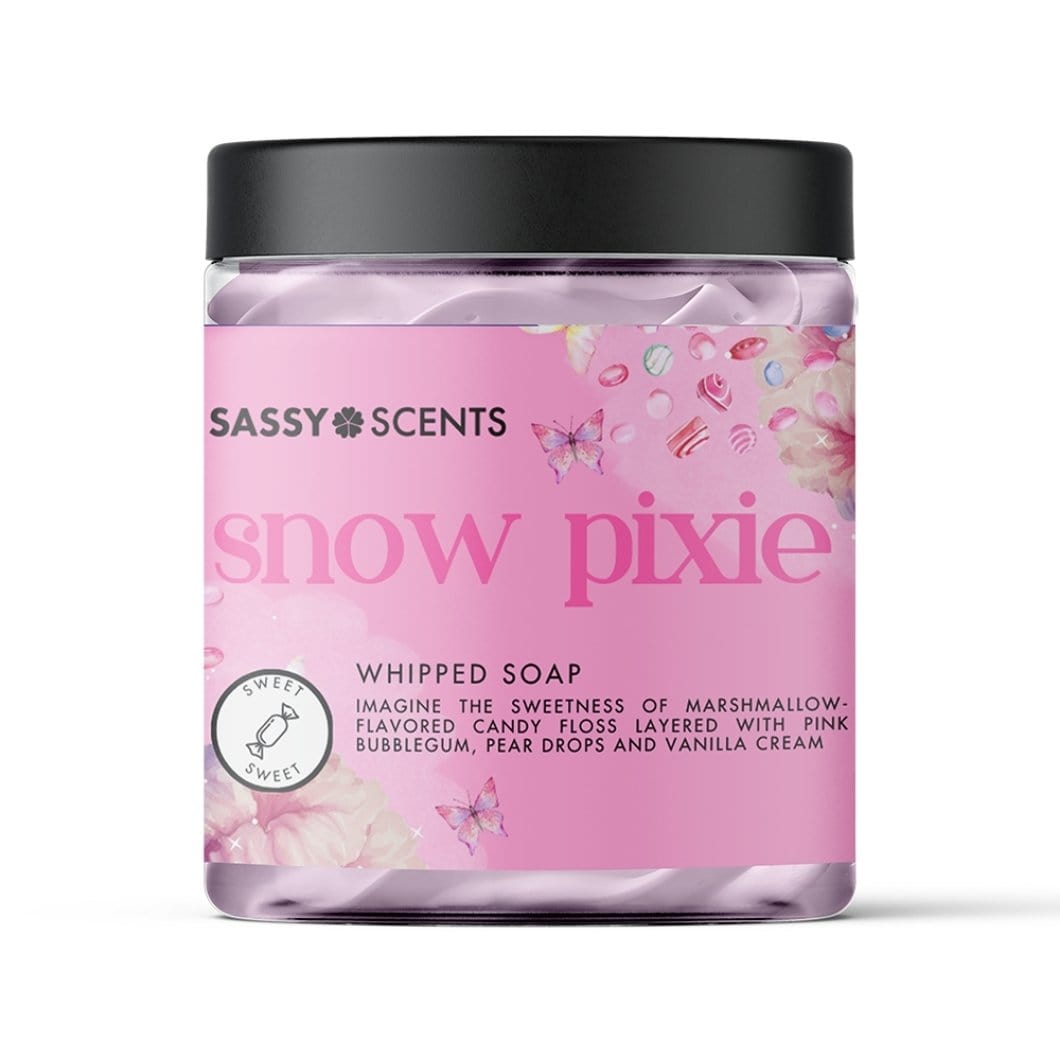
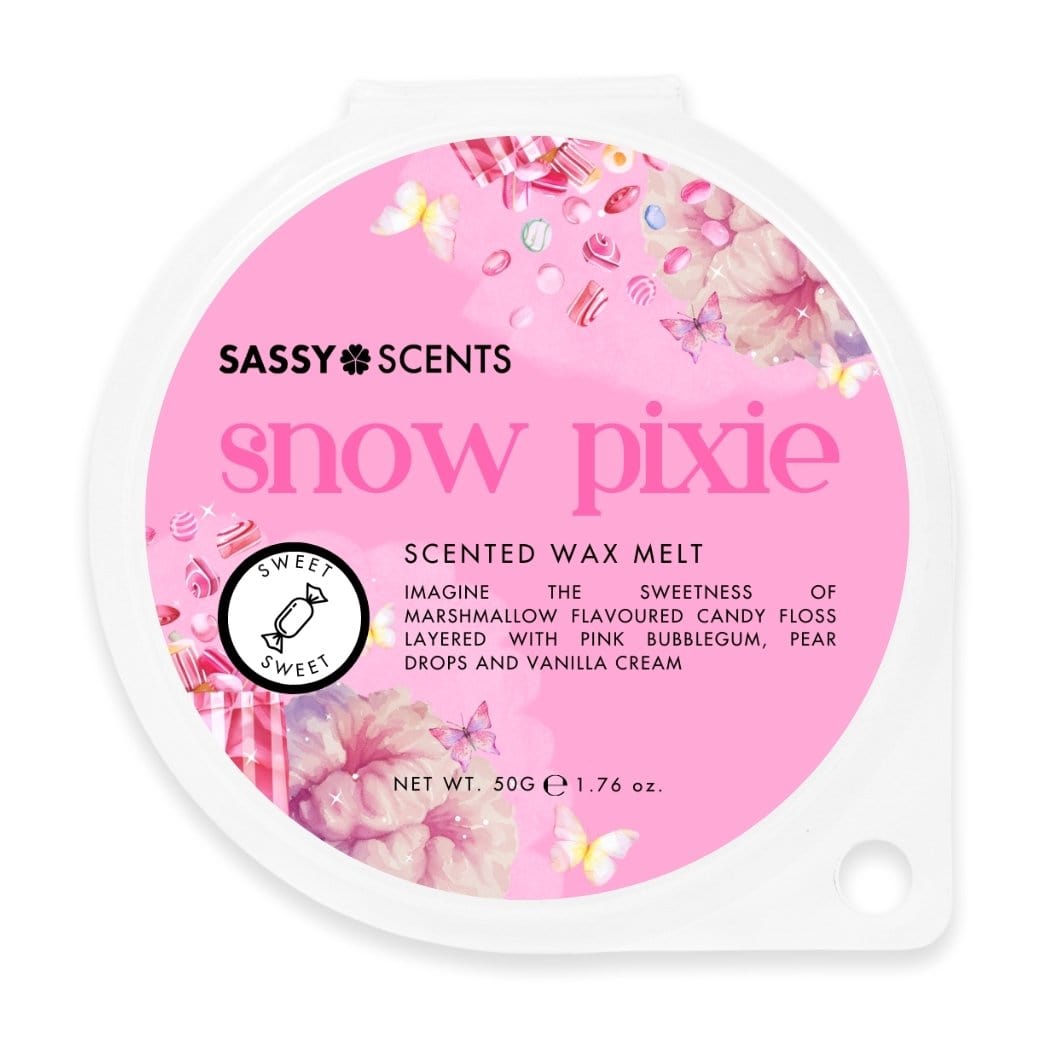
These melts are available in various scents, including the fresh unstoppable fragrance. Our favourites include Snow Pixie, Sandalwood and Patchouli, and La Vie Est Bon, but there is really something for everyone.
And of course, you can make your own. Preparing your own wax melts allows for a level of customisation you just can't get from the store-bought varieties. You have full control over the type of wax used, the specific fragrance oil incorporated, and even the strength of the scent.
There's a unique satisfaction in crafting your own home fragrance. Mixing and melting your own blends lets you bring out your creative side, and there's something genuinely rewarding about creating your own fresh, unstoppable fragrances right at home.
Materials Needed for DIY Wax Melts
Embarking on a DIY wax melts project can be an exciting endeavour. However, it's essential to have the right materials at hand to ensure a smooth and successful process. From the type of wax you choose to the tools you use, every element plays a crucial role in the final outcome.
Choosing the Right Wax
Choosing the right type of wax is instrumental in making your own DIY wax melts. The quality, aroma absorption and melting point of the jargon all vary significantly with the type of wax used. Soy wax is recommended because of its high quality and lower melting point. (We use soy wax in all of our melts).
The kind of wax used can influence the mould ease as well. Certain types of wax like pillar wax or wax specifically made for wax melts shrink slightly when hardened. This makes it easier to remove the wax melt from the mould. If you're dealing with a complex mould with intricate details, you might want to take this into consideration.
Remember that selecting high-quality wax is essential to make effective DIY wax melts. The higher the quality of the wax, the lower the chances of encountering problems such as uneven melting or poor scent throw. If you're aiming to add a winter fragrance like Winter Fae to your melts, this tip is particularly crucial as the quality of wax can affect how the essential oil drops of cinnamon and ginger come through.
So when you stand before a shelf filled with different types of wax, remember the nature of soy wax, its high quality, and choose wisely. There's a satisfying whiff of achievement waiting just beyond that perfectly crafted DIY wax melt. Let's get melting!
Essential Tools for Wax Melting
- A Melting pot, aptly named, is the keystone tool for any DIY wax melts project. It's designed to withstand high temperatures and smoothly melt your chosen soy wax.
- Another crucial tool is a double boiler or similar setup. This lets you apply consistent, gentle heat to the melting pot, ensuring your wax doesn't scorch.
- A pour jug is indispensable for DIY enthusiasts attempting to mould their wax melts. Without it, transferring melted wax can quickly become a messy and potentially dangerous ordeal.
A durable metal spoon or similar implement becomes invaluable when you need to stir in your chosen essential oils or additives. The cinnamon and ginger essences are wonderful choices for a comforting, warm scent, but the beauty of DIY lies in customising your scent profile.
Given the fickle nature of wax melting, a digital thermometer is pretty much a necessity. Accurate readings help guarantee your wax is at the perfect temperature for adding essential oil drops and pouring.
Finally, a quality weighing scale is critical. Exact measurements of both the wax and essential oils ensure consistency and quality across all your DIY wax melts.

Step-by-Step Guide on How to Make Scented Wax Melts
Ready to get melting? Here’s how to turn your raw ingredients into a delicious-smelling wax melt:
Step 1: Weighing and Melting Your Wax
Start off by placing your chosen melting pot onto the scales. Make sure the settings are displaying in grams, as precision is paramount. Now, cautiously add the wax, stopping at exactly 200 grams. The quality of your completed wax melts hinges on these crucial details.
Now, half-fill your pan with cold water and place it on your cooker or stovetop. Seat the melting pot over the pan, creating a makeshift double-boiler. The water in your pan shouldn't rise more than halfway up the melting pot— we're looking for a gentle melting process rather than an intense boil.
Turn on the heat, setting it at a moderate to low range. You may observe the wax beginning to succumb to the heat and slowly change form. This is where our good friend, the thermometer, makes an appearance. Plunge it into the molten wax, checking for the optimum temperature of 80 degrees Celsius.
Ensuring that your wax doesn't overheat is essential to preserving the integrity of your final product, so be vigilant as your wax melts down. As soon as it hits the 80-degree mark, remove the pan from the heat source promptly.
The journey of how to make wax is one of precision and patience. Stick to these guidelines, and you're one step closer to creating your own scented wax melts.
Step 2: Adding Colour and Fragrance
Start by carefully choosing your desired colour and fragrance. The addition of a liquid dye can significantly enhance the overall aesthetics of your wax melt. However, adding the perfect amount of dye into the molten wax requires a subtle hand. As the dye is highly concentrated, pouring in too much may result in a darker hue than intended.
When you’ve achieved the desired colour, it's time to infuse the molten wax with your chosen fragrance or essential oil. Winter Fae fragrance oil, for instance, can add a sweet fruity undertone to your wax melt, filling your room with the aroma of bubblegum, banana, pear drops, and candy floss.
Gently stir the essential oil into the hot wax to ensure it’s evenly distributed. Remember to handle the scent cautiously because they can be quite potent. Always follow the guidelines provided by the manufacturer when adding essential oil into the mix.
Paying attention to these details can notably enhance the quality of your final product and ensure the best outcome for your wax melt recipe. Stay tuned for the next step where we dive into the process of pouring the wax into moulds.
Step 3: Pouring the Wax into Moulds
Pour the molten wax mixture gently into your designated moulds. A slow and steady approach ensures the entire mould cavity fills evenly and reduces the risk of unsightly bubbles. These moulds could vary in design, from traditional blocks to creative shapes that reflect your aesthetic penchant.
As you pour, be cautious not to overfill your moulds. Aim for the wax to reach just below the mould's rim. This helps keep the wax melt's shape intact when ejecting from the mould after it's fully set. In the event of accidental spillages, it's critical to promptly clean up with a soapy cloth or paper towel to avoid hardened wax messes.
Despite the anticipation, refrain from moving your moulds once you've filled them with the liquid wax. Transferring them or touching them could lead to spillages or distortion in the setting process. Allow them to set naturally at room temperature. It's worth mentioning that rush cooling techniques often lead to unwanted cracks in the wax, thus ruining its final appearance.
Finally, make a note of the wax used and the essential oil of choice for the batch. This aids in replicating successful recipes and helps to refine your wax melts making process.
To summarise, Step 3 captures the careful pouring of the wax mixture into moulds, exercising patience during the setting period, and the importance of documentation for future reference. Mastery of these tasks inches you closer to perfecting your wax melt recipe.
Step 4: Letting the Wax Set
Once you have filled your moulds to the brim with the molten concoction of wax, dye, and your essential oil of choice, the initial set usually takes approximately 2-3 hours. This timeline may vary depending on a few factors like the type of wax used, room temperature and size of the moulds used in your wax melt recipe.
It's crucial to remember, however, that your freshly formed scented wax melts are still a long way from being ready for use.
This might sound overly cautious, but it's best to leave them untouched for about a week, kept securely inside a sealed plastic container. This step is paramount to ensure a complete cure of the wax melts and to allow the fragrance oils to bind thoroughly to the wax.
During this waiting period, don't panic if you notice a white substance forming on the surface of your wax melts. It's called 'frosting'. Far from being a cause for concern, frosting is completely normal and marks the natural process of soy wax attempting to revert to its original state.
Indeed, the patience in the art of creating perfect scented wax melts lies not only in the process of making them but also in the time taken for them to set and cure. Don't rush this step as the final result will be rewarding.
Tips and Tricks for Perfect Wax Melts
Whether you're a seasoned crafter or a beginner, these tips will help you create high-quality, long-lasting wax melts that fill your space with delightful aromas. From choosing the right essential oil to mastering the melting process, we've got you covered.
Achieving the Perfect Scent
The art of achieving the perfect scent is a delicate balance of choosing a scent profile that's enticing, while ensuring it's neither too overpowering nor too underwhelming. It's recommended that approximately 8% of the fragrance oil should be used with the wax, ensuring a strong, lasting fragrance once the wax melt has solidified.
Incorporating the use of soy wax over paraffin counterparts also amplifies the longevity and purity of the scent, due to its slow and steady burn rate. This creates an enchantingly aromatic atmosphere for a prolonged period.
Avoiding Common Mistakes
When it comes to creating your own scented wax melts, avoiding common mistakes is crucial. It can be a difference between an amateur and pro tip outcome.
One paramount concern is ensuring you're working with high-quality materials. You may be tempted to cut corners with cheaper soy wax or fragrance oils, but this could result in a lacklustre scent payoff and poor-quality melts. Always invest in superior quality soy wax, essential oils, and fragrance oils.
Your melting process is also fundamental. Many amateur artisans make the grave error of overheating their wax. Employing a double boiler keeps the temperature consistent and prevents the wax from reaching boiling point—a key tip for maintaining the integrity of your scented wax.
Colouring your wax can be another area where errors are frequent. Novices often use too much liquid dye, leading to stained wax warmers. Always remember: when adding your liquid dye to the pour jug, less is more.
Final Thoughts on Making Scented Wax Melts
Creating your own scented wax melts is a rewarding and creative process. With the right materials and a bit of patience, you can create a variety of fragrances to suit your mood or season. Remember, the key to a successful melt is the quality of your ingredients - from the type of wax to the fragrance oil you choose.
Moreover, don't be afraid to experiment with different scents and colours.
The beauty of making your own wax melts is that you can customise them to your liking. Whether you prefer the fresh unstoppable fragrance of cinnamon ginger or the soothing scent of essential oils, the possibilities are endless.
Of course, if you don’t want to go through the expense or trouble of making your own wax melts, you can always rely on Sassy Scents. Sassy Scents offers a luxurious collection of handcrafted wax melts, made with organic soy wax in the UK. Each melt is carefully crafted to provide a long-lasting and fragrant experience. From calming lavender to invigorating citrus, their diverse range of scents caters to every preference. By choosing Sassy Scents, you're not only indulging in a delightful fragrance experience but also supporting sustainable and ethical practices. Visit our online store to find your favourite wax melt today!


